

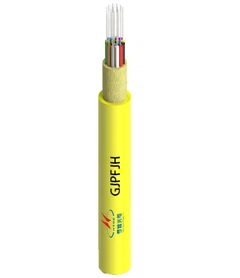


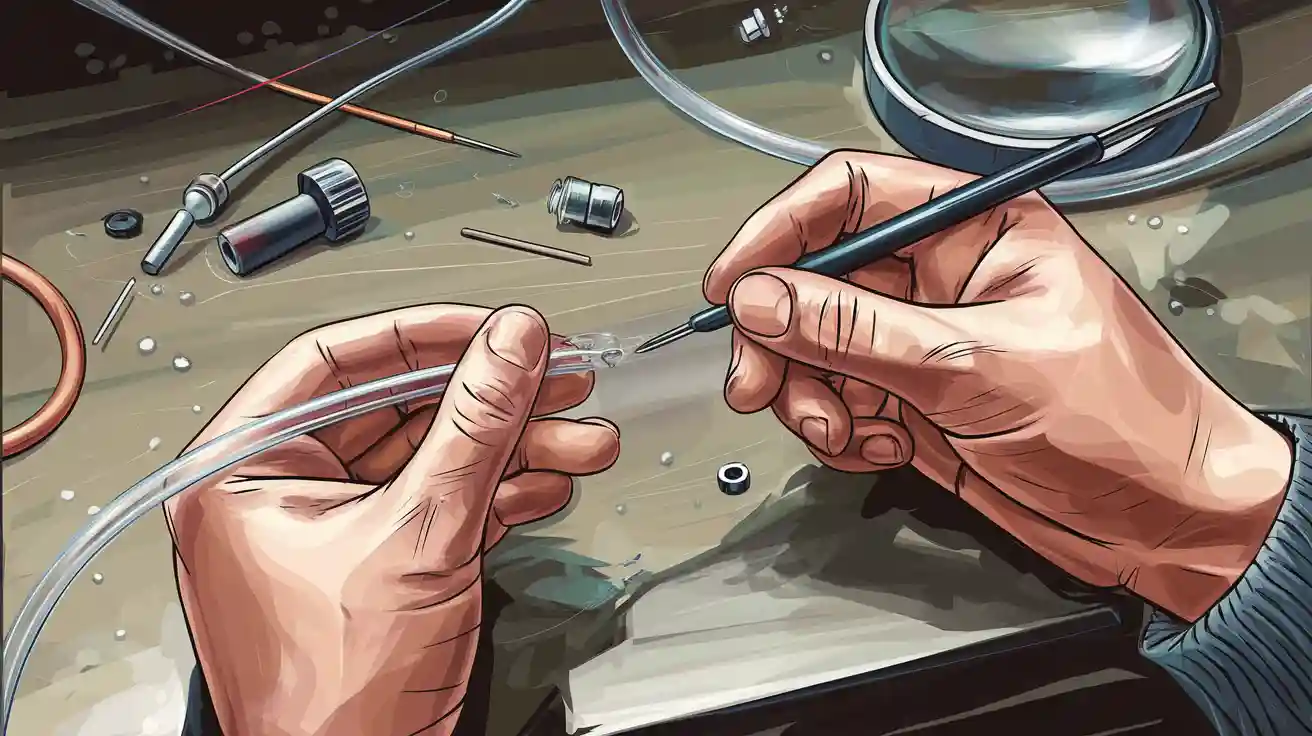
You need to approach fiber optic cable repair with precision and care. First, locate the damage to ensure you address the exact fault. Next, prepare the fiber optic cable by cleaning and stripping the fibers. Splicing restores the connection, and testing confirms the signal integrity.
Using specialized tools and following safety precautions reduces risk and improves results.
You should only attempt these steps if you have the right equipment and basic experience. Seek professional help for complex or critical repairs.
Key Takeaways
- Identify the damage using tools like OTDR or Visual Fault Locators. This step is crucial for effective repairs.
- Use specialized tools for cutting, stripping, and splicing fiber optic cables. Proper tools ensure clean cuts and maintain signal integrity.
- Always prioritize safety by wearing protective gear and maintaining a clean workspace. This reduces the risk of injury and contamination.
- Test the repaired fiber optic cable with OTDR to confirm signal quality. Regular testing helps prevent future issues and ensures reliable performance.
- Consider professional help for complex repairs. Experts have the skills and tools to handle challenging situations effectively.
Fiber Optic Cable Tools
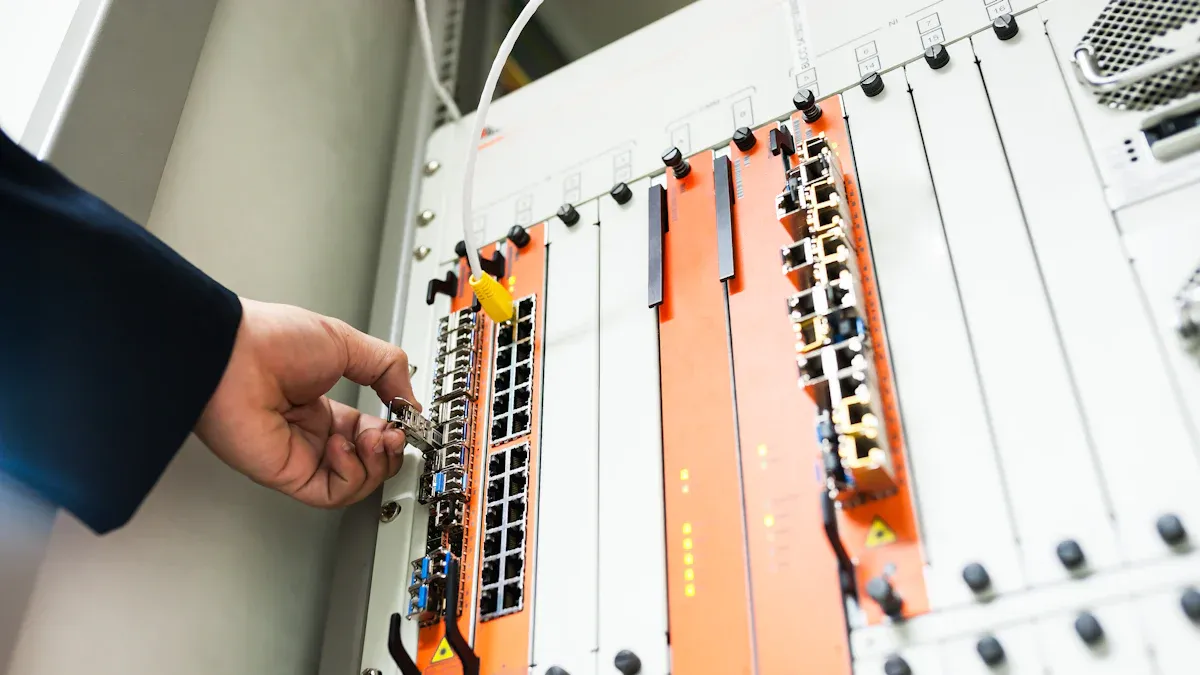
Essential Tools
You need the right tools to repair a fiber optic cable and maintain its performance. Each tool serves a specific purpose and ensures the integrity of your connection. Here is a list of essential tools you should have for effective maintenance:
- Buffer Tube Slitter: Opens buffer tubes without harming the fibers. This tool allows you to access the fiber optic cable core for splicing or termination.
- Fiber optic cutter: Cuts the fiber optic cable to the required length. Clean cuts help preserve signal quality and reduce attenuation.
- Fiber optic stripper: Prepares fiber optic cable ends for splicing by removing the protective coating. You use this tool to expose the bare fiber for further processing.
- Jacket Remover: Strips the outer jacket safely, protecting the internal fibers from damage.
- Diagonal Cutter: Provides precise cuts for fiber optic cable, which is critical for signal integrity.
- Fiber Cleaver: Cleaves the fiber at a precise angle, ensuring a clean splice and minimal signal loss.
- Connector Cleaner: Removes dust and dirt from connectors, maintaining a clear signal path.
- OTDR (Optical Time Domain Reflectometer): Verifies splice quality and locates faults. OTDR gives you accurate measurements of fiber optic cable length and attenuation, which helps you pinpoint issues quickly and maintain ongoing maintenance.
Tip: OTDR not only identifies faults but also helps you monitor the health of your fiber optic cable system over time.
|
Tool Name |
Material |
Strength (lbs) |
Functionality Level |
|---|---|---|---|
|
Fiber optic cutter |
Hardened steel |
120 |
High |
|
Fiber optic stripper |
Alloy steel |
100 |
High |
|
Fiber optic crimper |
Carbon steel |
130 |
High |
|
Buffer Tube Slitter |
ABS plastic |
80 |
Medium |
Safety Equipment
You must use safety equipment when handling fiber optic cable. Tiny glass shards from the fiber optic cable can cause injury if not managed properly. Always wear safety glasses to protect your eyes. Use gloves to prevent cuts and keep your hands clean. A clean workspace reduces the risk of contamination and accidental damage. You should also use a fiber optic crimper with insulated handles to avoid electrical hazards during maintenance.
Note: Safety equipment not only protects you but also ensures the reliability of your fiber optic cable repair.
Safety Precautions
Handling Cables
You must handle fiber optic cables with extreme care to prevent injury and avoid further damage. Fiber optic cables contain delicate glass fibers that can break easily and cause serious harm. You should never bend or twist the fiber optic cable sharply, as this can fracture the fibers and degrade signal quality. Always use safety glasses with side shields to protect your eyes from tiny shards. Wear protective gloves to shield your hands from broken fibers and chemicals. You need to keep food and drinks away from your workspace to prevent accidental ingestion of fiber fragments. Familiarize yourself with the Material Safety Data Sheet (MSDS) for any chemicals you use during the repair process.
Tip: Cleaning up at the end of each work session controls fiber fragments and keeps your workspace safe.
Here is a summary of critical safety precautions:
|
Safety Precaution |
Description |
|---|---|
|
Wear safety glasses with side shields |
Protects eyes from fiber shards |
|
Wear a disposable lab apron |
Reduces fiber splinters on clothing |
|
Don't allow food or beverages nearby |
Prevents accidental ingestion of fiber fragments |
|
Ensure well-ventilated work area |
Reduces inhalation of airborne glass particles |
|
Dispose of fiber cable scraps properly |
Prevents hazards from leftover materials |
|
Maintain clearance around spark hazards |
Reduces fire risk |
|
Clean up at the end of the day |
Controls fiber fragments in the work area |
Workspace Setup
You need to prepare your workspace before starting any fiber optic cable repair. A clean, organized area reduces the risk of contamination and injury. Physical injuries can occur from tiny glass or plastic fibers that break off during handling. Chemical risks arise from cleaning and sealing agents. Optical injuries may result from exposure to lasers used in fiber optic technology. You should ensure your workspace is well-ventilated to minimize inhalation of airborne particles. Keep all tools and materials within reach to avoid unnecessary movement and distractions.
Environmental factors also impact the success of your repair. Harsh weather conditions, temperature fluctuations, and moisture exposure can compromise fiber optic cable integrity. Damage from animals, natural disasters, and electrical faults may also affect your workspace and the fiber optic cable itself.
- Always maintain a clutter-free environment.
- Store chemicals and cleaning agents safely.
- Monitor for moisture and temperature changes.
- Protect fiber optic cables from animals and electrical hazards.
By following these safety precautions, you create a secure environment for fiber optic cable repair and ensure reliable results. Proper handling and workspace setup protect both you and the fiber optic cable, reducing risks and improving the quality of your repair work.
Repair Steps
Locate Damage
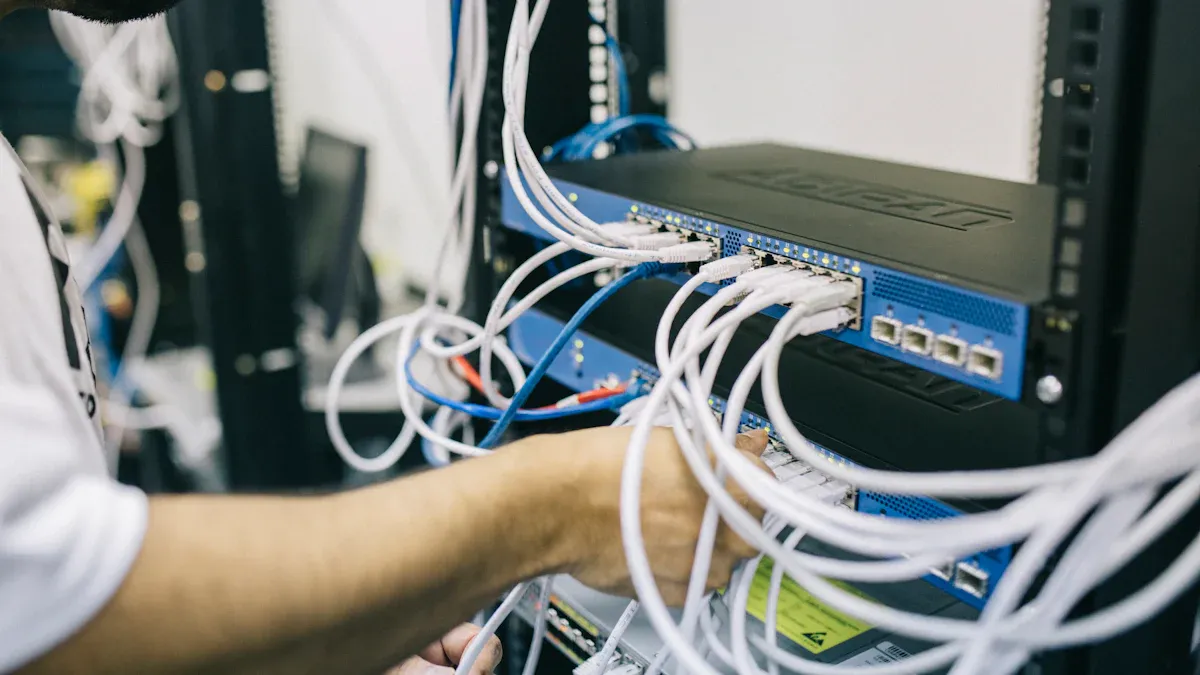
You must first identify the exact location of the damage in the fiber optic cable. Use an Optical Time Domain Reflectometer (OTDR) to send light pulses through the cable. The OTDR measures reflections and creates a visual map of the fiber's condition. This process helps you pinpoint the spot where the signal drops or where the fiber optic cable has suffered damage. Visual Fault Locators can also help you find breaks or severe bends by shining a visible light through the fiber. Fiber Inspection Kits allow you to check for contamination or physical damage on the end faces, which can cause signal loss or reflectance. Always inspect the cable thoroughly before starting any repair. If you skip this step, you risk missing hidden damage that can lead to further signal loss.
Tip: Always use a Fiber Inspection Kit to detect contamination before and after repair. Even small particles can cause major signal problems.
Cut Fiber Optic Cable Preparation
Once you locate the damage, you need to prepare the cut fiber optic cable for repair. Start by cutting out the damaged section using a fiber optic cutter. Make sure your cuts are clean and straight to prevent additional signal loss. Inspect the fiber optic cable for visible damage and contaminants. Use lint-free wipes and cleaning solutions to remove dust and debris. Carefully strip the outer jacket and buffer tube with the appropriate tools, exposing the bare fibers without causing microfractures. Remove the protective coating from the fibers using a fiber optic stripper. Always handle the fibers gently to avoid introducing new damage.
Follow these steps for optimal preparation:
- Inspect the fiber optic cable for visible damage and contamination.
- Clean the fiber optic cable with lint-free wipes and approved cleaning solutions.
- Strip the outer jacket and buffer tube with the correct tools.
- Remove the protective coating from the fibers.
- Use a precision cleaver to make a clean, flat cut on each fiber.
- Inspect the cleaved ends under a microscope for defects.
- Align the fibers properly for splicing the fiber optic cable.
- A well-prepared cut fiber optic cable ensures a strong splice and minimal signal loss during repair.
Strip and Clean Fibers
Proper cleaning and stripping are critical for successful fiber optic cable repairs. Use lint-free fabric or composite wipes to clean the fibers. Avoid canned air or dusters, as they can spread contaminants and increase the risk of signal loss. Combine wipes with specialized solvents to remove oils and static charge. After cleaning, use a new dry wipe to remove any excess solvent. Dedicated mechanical port cleaning devices help clean inside connectors and ports. Always keep protective covers on connectors until you are ready to clean or connect them. Clean all connections before and during testing to prevent contamination from causing signal loss.
Common contaminants like fingerprints and dust can block light transmission. Clean fiber connectors with dry or wet swabs and mechanical cleaners. Store connectors in their original packaging to minimize contamination. Proper cleaning and stripping prevent microfractures and ensure the signal passes through the fiber optic cable with minimal loss.
Splicing Methods
You have two main options for splicing the fiber optic cable: mechanical splicing and fusion splicing. Mechanical splicing uses an alignment fixture and gel to hold the fibers together. This method is quick and suitable for temporary repairs, but it results in higher signal loss and less stability. Fusion splicing uses an electric arc to fuse the fibers, creating a permanent bond. This method offers the lowest signal loss and the highest reliability, especially in harsh environments.
|
Splicing Type |
Typical Signal Loss (dB) |
Best Use Case |
|---|---|---|
|
Mechanical Splicing |
0.3 |
Temporary or emergency repair |
|
Fusion Splicing |
0.1 to 0.5 |
Permanent, high-reliability |
Fusion splicing creates a strong, permanent connection with minimal signal loss-typically around 0.1 to 0.5 dB. Mechanical splicing, while easier, usually results in a signal loss of about 0.3 dB per connection. Experts recommend fusion splicing for long-term fiber optic cable repairs because it provides better signal integrity and durability. Use mechanical splicing only when you need a quick, temporary fix or when fusion equipment is unavailable.
Note: Always align the fibers precisely before splicing the fiber optic cable. Poor alignment increases signal loss and reduces the effectiveness of your repair.
Protect and Test
After splicing the fiber optic cable, you must protect the repaired section and test the signal. Use heat-shrink tubing or other sealing materials to create a watertight and dustproof barrier around the splice. Proper sealing prevents environmental factors from causing further damage or signal loss. Before you bury or mount the closure, perform OTDR testing to verify the quality of your splices. Measure the signal loss and reflectance at each splice point. If you detect excessive loss, recheck your work and redo the splice if necessary.
|
Step |
Description |
|---|---|
|
1 |
Perform OTDR testing before sealing the closure to confirm good splices. |
|
2 |
Check that signal loss is within acceptable limits for your application. |
|
3 |
Seal the closure to protect against moisture and dust. |
|
4 |
Use heat-shrink tubing for extra protection. |
Test the installation to ensure the splices function correctly. Address any issues immediately to prevent future signal problems. Proper protection and testing are essential for reliable fiber optic cable repairs and long-term maintenance.
Tip: Keep detailed records of signal loss and repair locations. This information helps with future maintenance and troubleshooting.
Troubleshooting
Common Issues
You may encounter several common issues after completing a fiber optic cable repair. These problems often lead to persistent signal loss and can disrupt network performance. You need to understand why these issues occur so you can address them quickly and maintain reliable communication.
- Signal loss or attenuation often appears when the fiber optic cable experiences microfractures or poor splicing.
- Connector failures and splicing failures can result from improper alignment or contamination.
- Excessive bending or stress on the fiber optic cable causes physical damage and increases signal loss.
- Contamination of fiber optic cable connectors blocks light transmission and leads to connector failures.
- Water ingress or environmental damage introduces moisture, which degrades the fiber optic cable and causes further loss.
- Poor installation or maintenance practices create weak points that increase the risk of damage and signal loss.
You should always check for these common issues after any repair. Signal loss remains the most frequent problem, and connector failures often follow due to improper cleaning or handling. Damage from bending or environmental exposure can also cause unexpected loss.
Tip: Regular inspection and cleaning help prevent signal loss and reduce the risk of connector failures.
Solutions
You need to diagnose the root cause of signal loss before you can restore optimal performance. Start with a visual inspection to identify physical damage or irregularities. Clean connectors and fiber optic cables thoroughly to remove dust and contaminants. Use an optical time-domain reflectometer (OTDR) to test the fiber optic cable and measure signal strength. This process helps you pinpoint the exact location of loss and damage.
The following table summarizes effective solutions for resolving common post-repair issues:
|
Testing Method |
Purpose |
|---|---|
|
End-to-End Testing |
Measures overall light transmission before and after repair. |
|
OTDR Verification |
Verifies splice point loss, checks for new reflective events, and ensures overall fiber optic cable attenuation is within specifications. |
|
Common Post-Repair Issues |
Identifies potential problems such as high splice loss, reflective events, and inconsistent results. |
You should always perform end-to-end testing and OTDR verification after every repair. These methods help you detect signal loss, connector failures, and damage that may not be visible. If you find high splice loss or reflective events, redo the splice and clean all connectors. Addressing these issues quickly prevents further signal loss and ensures the fiber optic cable operates at peak efficiency.
Note: Consistent testing and maintenance reduce the risk of recurring signal loss and damage. You protect your network and extend the life of your fiber optic cable.
Professional Help
When to Call
You should consider professional intervention when you encounter complex fiber optic cable issues that threaten signal reliability or network safety. Certain situations demand expertise and specialized equipment. Here are the most common scenarios where professional repair services become essential:
- Physical damage from construction or accidental cutting can disrupt the signal and require immediate attention.
- Environmental conditions, such as extreme weather or water ingress, can degrade the fiber optic cable and cause persistent signal loss.
- Frequent failures or recurring signal problems may indicate deeper issues that only professional intervention can resolve.
- Technological wear, including fiber fatigue or outdated fiber optic cables, can reduce signal quality and require upgrades.
- Network expansion or increased demand may push your current system beyond its limits, making professional repair services necessary.
- Professional repair services also ensure compliance with legal and regulatory standards. For example, the National Electrical Code (NEC) Article 770 and NFPA 70 require that fiber optic cable installations do not increase fire or smoke risks in buildings.
- The NEC and NFPA standards protect your property and ensure safe, reliable signal transmission.
DIY vs. Professional
You may feel tempted to attempt a DIY repair, especially for minor signal issues. However, you should weigh the risks and benefits before proceeding. The following table compares key aspects of DIY and professional repair services:
|
Aspect |
DIY Costs |
Professional Costs |
|---|---|---|
|
Materials |
$1 to $3 per linear foot |
Included in service |
|
Tools/Equipment |
Requires rental or purchase |
Provided by technicians |
|
Labor |
No labor cost, but risks involved |
Skilled labor ensures quality |
|
Compliance |
Risk of code violations |
Guaranteed code compliance |
|
Success Rate |
Depends on skill and tools |
High due to expertise |
Professional intervention offers several advantages. Certified technicians hold credentials such as FOT-OSP (Fiber Optics Technician - Outside Plant) and CFOT (Certified Fiber Optic Technician). These certifications require hands-on training, field experience, and knowledge of installation, splicing, and testing. You gain peace of mind knowing your signal will remain strong and your network will meet all safety and regulatory requirements.
DIY repairs may seem cost-effective, but improper handling can worsen damage and lead to recurring signal loss. Professional repair services deliver reliable results, protect your investment, and ensure long-term network performance.
You can achieve reliable fiber optic cable repair by following these essential steps:
- Identify the fault using a Visual Fault Locator or OTDR to locate the exact point of signal loss.
- Prepare the fiber optic cable by removing damaged sections and stripping outer layers with precision.
- Cleave and inspect fiber ends to ensure flat surfaces for optimal signal transmission.
- Splice the fibers using fusion or mechanical methods, then protect the splice in a secure enclosure.
- Test the repaired segment with OTDR to confirm signal integrity and compliance with standards.
Always wear safety glasses and gloves, work in a clean area, and dispose of fiber scraps properly. Regular maintenance and careful testing help you prevent signal problems, reduce costs, and extend the life of your fiber optic cable.
If you feel unsure or lack the right equipment, seek professional help to protect your network and maintain strong signal performance.
FAQ
Why does fiber optic cable need special tools for repair?
You need special tools because fiber optic cables use glass fibers that require precise handling. Standard tools can damage the fibers, which leads to signal loss. Specialized equipment ensures clean cuts and proper alignment, which maintains network performance.
Why should you avoid bending fiber optic cables sharply?
Sharp bends cause microfractures in the glass fibers. These fractures disrupt light transmission and increase signal loss. You protect the cable's integrity and ensure reliable data flow by handling it gently and following best practices for fiber optic maintenance.
Why is cleaning connectors important during repair?
Dust and oils on connectors block light signals. Even small particles can cause major signal loss or connection failure. You maintain optimal performance by cleaning connectors before and after every repair.
Why choose fusion splicing over mechanical splicing?
Fusion splicing creates a permanent bond with minimal signal loss. Mechanical splicing is faster but less reliable and has higher loss. You should use fusion splicing for long-term repairs to ensure the best signal quality.
Why test the cable after every repair?
Testing confirms that your repair restored signal integrity. It helps you detect hidden issues, such as high splice loss or contamination. Regular testing prevents future problems and keeps your network running smoothly.