

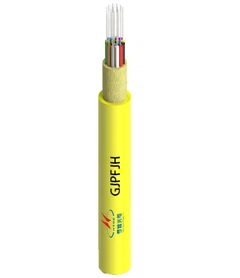


Outdoor optical cables are often exposed to harsh weather conditions, making them susceptible to water ingress. A compromised cable can lead to signal loss and, in severe cases, complete failure. That's why adhering to the IEC 60794-1-22:2017 standard is crucial for manufacturers and installers alike.
To perform the water penetration test, you'll need a few key pieces of equipment:
- A pressure chamber capable of simulating natural water pressure.
- An indicator dye to visually confirm any water ingress.
- Accurate measuring tools to maintain consistent test conditions.
**Step-by-Step Guide:**
Follow these simple steps to conduct the water penetration test:
1. **Sample Preparation:** Select a 3-meter section of the outdoor optical cable.
2. **Sealing:** Ensure both ends of the cable sample are sealed to prevent false results.
3. **Pressure Application:** Place the sample in the chamber and apply a 1-meter water column pressure.
4. **Temperature Control:** Keep the temperature at a constant 20°C throughout the test.
5. **Duration:** Allow the test to run for a full 24 hours.
6. **Observation:** Use the indicator dye to check for any signs of water penetration.
**Pass or Fail:**
A cable passes the test if it shows no visible signs of water penetration. This ensures that the cable is fit for outdoor use and can handle exposure to moisture.
By conducting the water penetration test in accordance with the IEC 60794-1-22:2017 standard, manufacturers and installers can have confidence in the durability and reliability of outdoor optical cables. This test is a vital part of ensuring that our communication infrastructure remains robust and resilient.